Last week, Apple released iOS 5.1 which provides some bug fixes & battery improvements. If you’re one of the kind who likes to stay updated to the latest firmwares, then this post is for you.
If you own a locked iPhone 4 or iPhone 3GS, then you must create a custom firmware which will preserve the baseband. I already blogged about how redsn0w can be used to preserve the baseband and create custom iOS 5.1. redsn0w doesn’t provide any function to hacktivate the iPhone, in case you don’t have original carrier’s sim. sn0wbreeze can be used for this purpose.
The jailbreak for iOS 5.1 is currently tethered for iPhone 4 & iPhone 3GS (New Bootrom). For iPhone 3GS – Old bootrom, the jailbreak is untethered.
How To Preserve Baseband & Update to iOS 5.1 using sn0wbreeze 2.9.2?
Step 1: Download iOS 5.1 for your iPhone 3GS/iPhone 4
Step 2: Download sn0wbreeze 2.9.2 & launch it
Click Ok on the Welcome screen. Then sn0wbreeze will show you the IPSW Selection screen
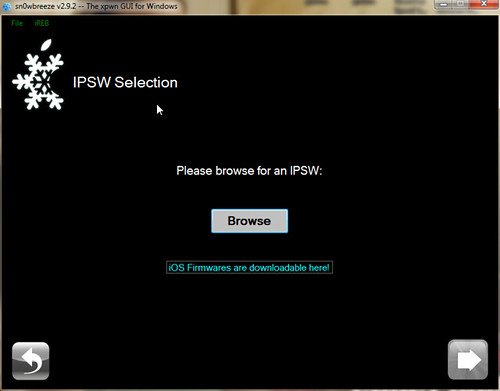
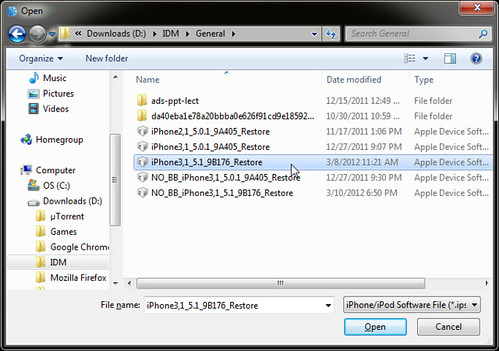
Step 3: Browse for iOS 5.1 IPSW & select it
sn0wbreeze will verify the IPSW file. If it throws any errors, make sure to verify the MD5 sum of the IPSW file.
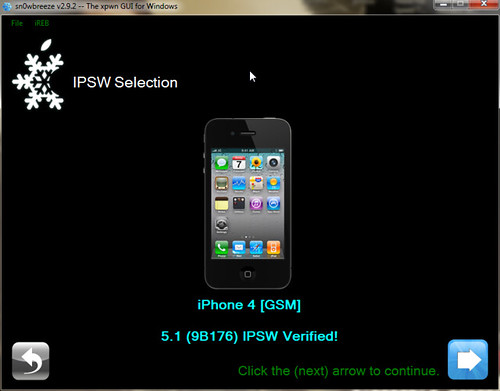
Click the Next arrow if everything is fine.
Step 4: sn0wbreeze will now ask you to select one of the modes.
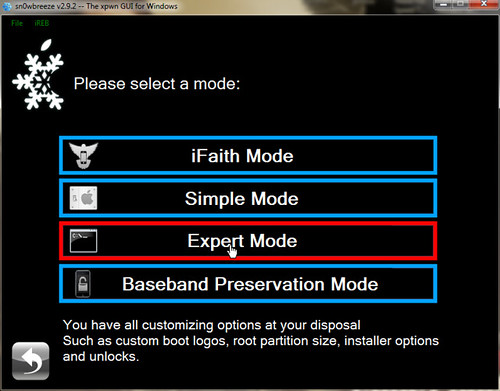
Here’s what each of the mode does:
- iFaith Mode: This mode creates a custom, pre-activated IPSW using saved SHSH blobs
- Simple Mode: This mode jailbreaks the iOS & installs basic jailbreak functions including Cydia. This mode doesn’t hacktivate
- Expert Mode: This mode lets you install Cydia, OpenSSH, and also lets you hacktivate the iOS, in case you don’t have original carrier’s sim
- Baseband Preservation Mode: This mode just preserves the baseband & doesn’t jailbreak or hacktivate the iOS
Note: All the modes of sn0wbreeze preserve the baseband.
Select the appropriate mode. For this tutorial, I’ve selected the Expert Mode.
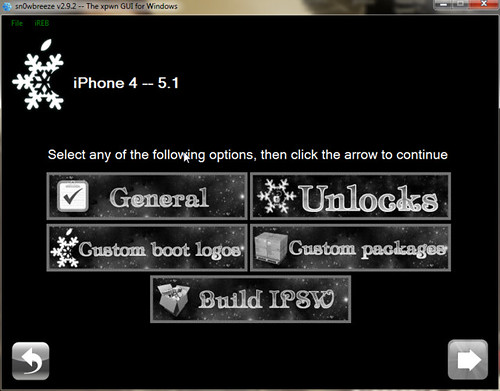
Step 5: Once you select Expert Mode, click General & click the Next arrow
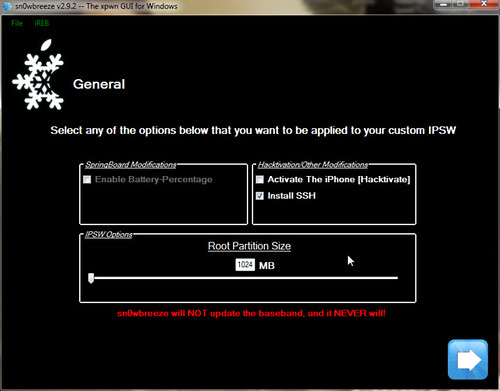
Here you can select the hacktivate option, install SSH, etc. You can leave the root partition size as it is. Select the appropriate options and click Next arrow.
If you want to install Custom packages, you can do it on this screen. Skip if you don’t want to install any packages or download & integrate the packages in the iOS. Click Next arrow once done.
Step 6: Select Build IPSW & click Next
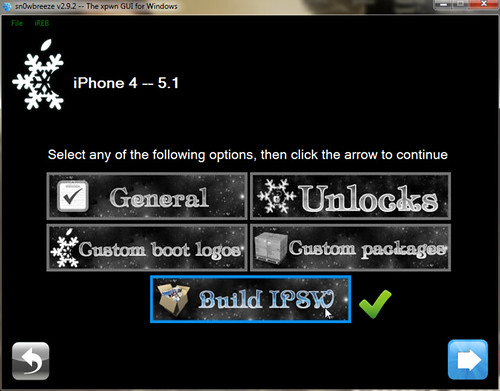
sn0wbreeze will start building custom iOS 5.1. Wait for a few minutes
Once done, sn0wbreeze will save the custom iOS 5.1 along with iBooty on Desktop
Step 7: Click Done in sn0wbreeze & then it will prompt you to put your iPhone into Pwned DFU mode
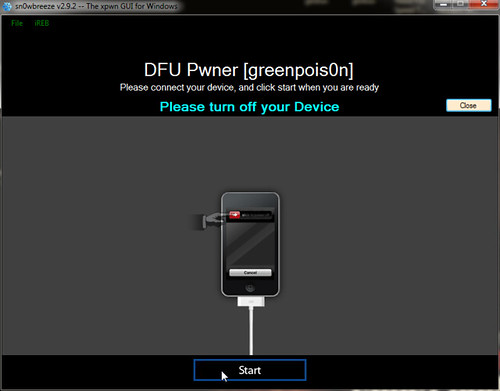
Connect your iPhone to PC & switch it off. And then click Start in sn0wbreeze. Follow the instructions on the screen to put your iPhone into Pwned DFU mode.
Step 8: Once your iPhone is in Pwned DFU mode (black screen), launch iTunes & press Shift + Restore. Point iTunes to the custom iOS 5.1 saved on Desktop.
iTunes will verify the restore from Apple’s servers and update your iPhone 4 or iPhone 3GS to custom iOS 5.1. The baseband will be preserved and you can use Gevey unlock or ultrasn0w.
Note: If you jailbroke iOS 5.1 using sn0wbreeze, then you must use iBooty to boot your iPhone in tethered mode. iBooty is present on your Desktop/
If you’ve any queries, feel free to ask below.
{ 8 comments… read them below or add one }
does this work?
Yes it does.
can we update it via itunes later on?
If you rely on unlock, you mustn’t directly update to factory iOS via iTunes.
In expert mode, what is the use of ‘Install SSH’? I rely on Gevey unlock and I don’t have AT&T (Original) Sim so I have to Hacktivate it. And lastly, is there a HIGH RISK of breaking or damaging my iPhone 4? (My iPhone is on iOS 4.3.3, unlocked through Gevey Sim, BB 4.10.01) THANKS.
SSH is a protocol that lets you connect to your iPhone via a Terminal.
Yes you must hacktivate as you don’t have the original carrier’s sim.
There’s no risk of breaking or damaging your iPhone 4.
Gevey works on iOS 5.1 with preserved baseband.
This worked on my iPhone 4 (ios 4.3.3 / bb 04.10.01), I don’t have the original AT&T sim w/ me … the thing is after the update, most app notification seems to fail, is it an apple (system) problem?! .. is there a way I could fix it?! Thanks!
You need to fix push notifications. Follow this tutorial.