The famous baseband preservation tool, sn0wbreeze, has been updated by @ih8sn0w to support iOS 6.0.1. You can now preserve baseband and update to iOS 6.0.1 on iPhone 4 or iPhone 3GS. Preserving the baseband lets you use Gevey sim or ultrasn0w unlock. This latest build works with A4 devices only. Support for A5 devices is not present yet because there’s no low level exploit in DFU or iBoot. So, you cannot preserve the baseband on iPhone 4S and use Gevey sim.
sn0wbreeze 2.9.7 is compatible with:
- iPhone 4 – Tethered
- iPhone 3GS (Old Bootrom) – Untethered
- iPhone 3GS (New Bootrom) – Tethered
For iPhone 4 & 3GS (New Bootrom) you need to use iBooty to boot in tethered mode everytime it reboots. Follow this tutorial to preserve the baseband & create custom iOS 6.0.1 firmware.
How To Preserve Baseband & Jailbreak iOS 6.0.1 on iPhone 4/3GS using sn0wbreeze 2.9.7?
Step 1: Download iOS 6.0.1 IPSW
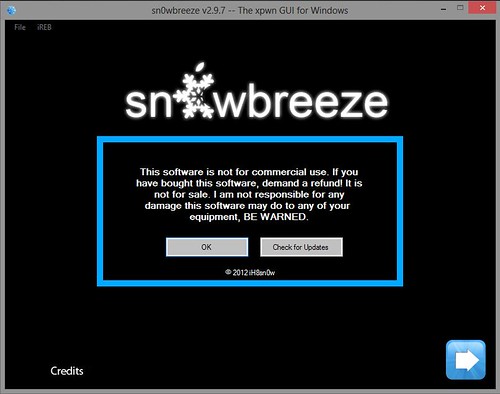
Step 2: Download & launch sn0wbreeze 2.9.7
Step 3: Dismiss the copyright notice
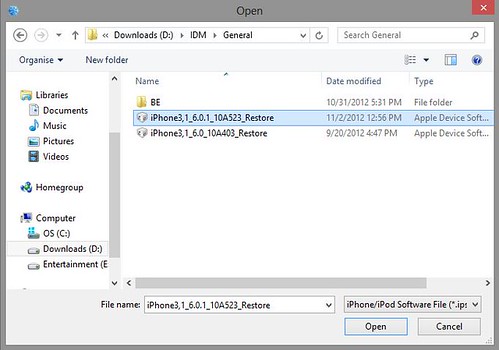
Step 4: Click next. On this screen, click Browse for an IPSW & select iOS 6.0.1 IPSW file
Step 5: sn0wbreeze will then recognize the IPSW
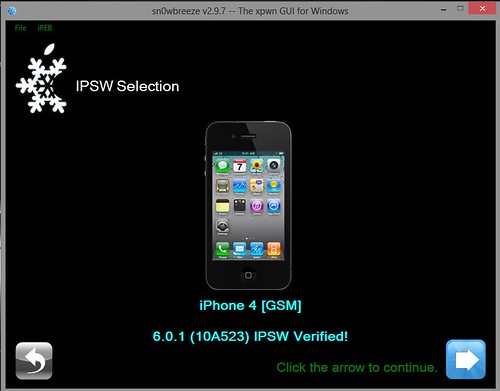
Click Next arrow.
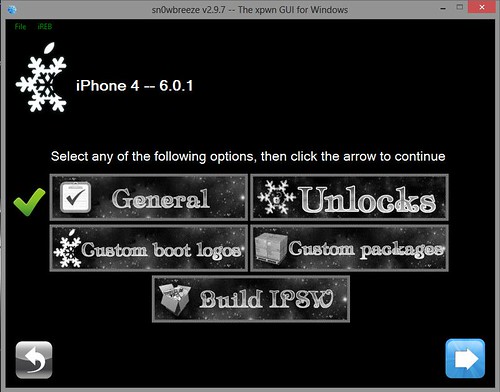
Step 6. You’ll see four options now:
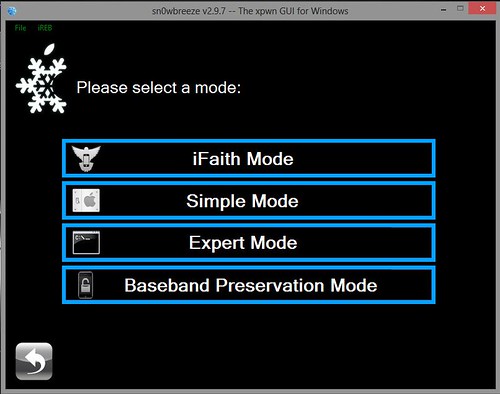
- iFaith Mode: This mode lets you create custom firmware using SHSH blobs saved by iFaith or TinyUmbrella
- Simple Mode: This mode jailbreaks and installs Cydia and other recommended stuff automatically. This mode is for users who just want to jailbreak their iDevice
- Expert Mode: Besides installing Cydia, this mode gives more advanced options like custom boot logos, root partition size, etc. Expert mode also gives the option to “hacktivate”
- Baseband Preservation Mode: This mode just preserves the baseband. It doesn’t install or jailbreak the iOS
All the above modes preserve baseband by default. Select the appropriate mode. For this tutorial, I have selected Expert Mode.
Step 7: Select General
Click Next arrow.
Step 8: Here you’ll see the option to “hacktivate”. Select it if you don’t have original carrier’s sim card. You can also install SSH by selecting “Install SSH.”
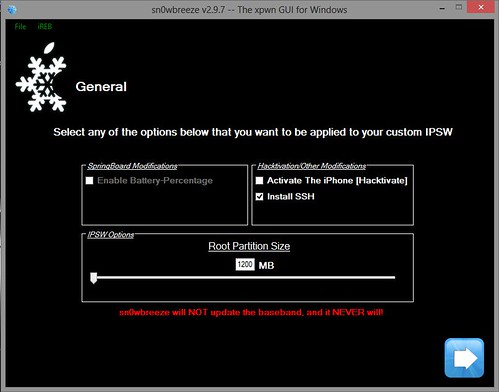
Click Next arrow. Then you’ll see the option to add custom Cydia apps. You can download & add Cydia packages here. After you’re done, then again click the Next arrow to proceed.
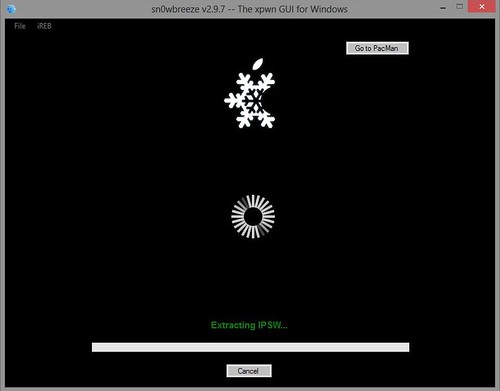
Step 9: Now select Build IPSW & click Next arrow

After this, sn0wbreeze will start building custom iOS 6.0.1 firmware. Wait for a couple of minutes.
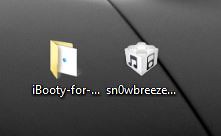
Step 10: After sn0wbreeze finishes creating custom iOS 6.0.1, it’ll save the IPSW on Desktop. The file name will be something like sn0wbreeze_iPhone_4-GSM-6.0.1-10A523.ipsw
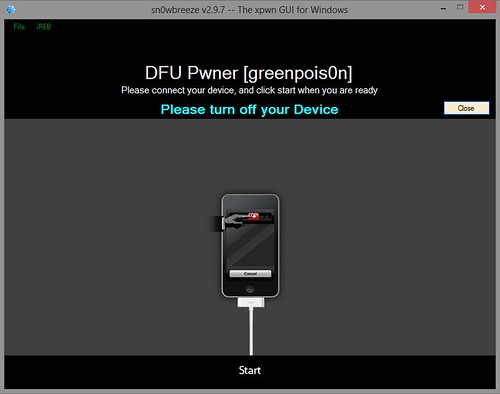
And sn0wbreeze will show you the instructions to put your iPhone, iPod Touch or iPad in Pwned DFU mode. Follow the instructions on the screen and your iDevice will be in Pwned DFU mode.
Step 11: Open iTunes & press Shift + restore. Then browse for the custom iOS 6.0.1 IPSW & let iTunes do the magic.
If you selected General or Expert mode, then Cydia will be installed on your homescreen after restore. Also, your baseband will be preserved and you can use Gevey sim or ultrasn0w to unlock your iPhone 4 or iPhone 3GS.

If you’ve any questions, feel free to ask below.
Warning: count(): Parameter must be an array or an object that implements Countable in /home/u265766359/domains/maheshkukreja.com/public_html/wp-content/themes/thesis_189/lib/classes/comments.php on line 43
{ 0 comments… add one now }